3D Printed Robotics Development Platform Nvidia Jetson Nano
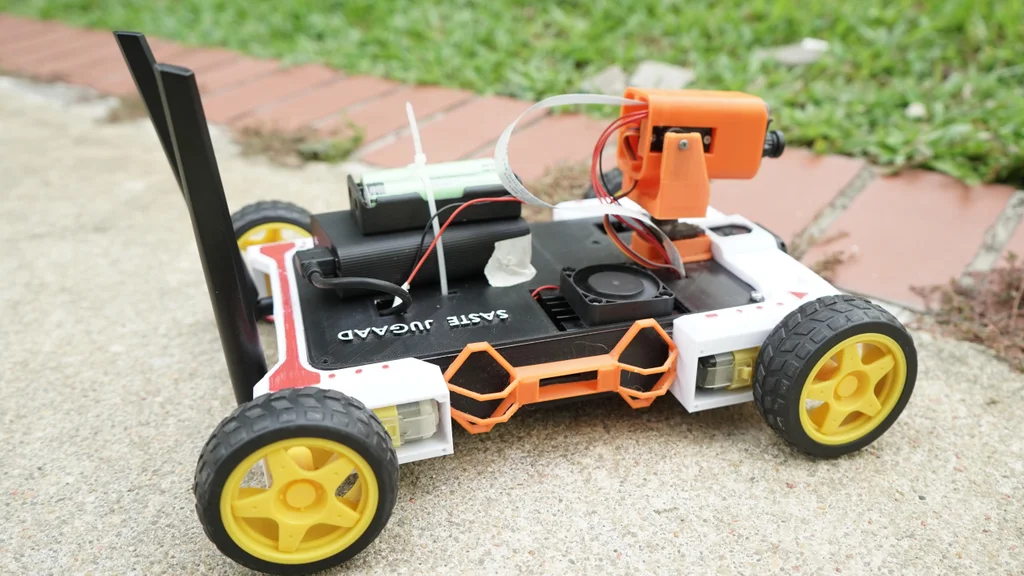
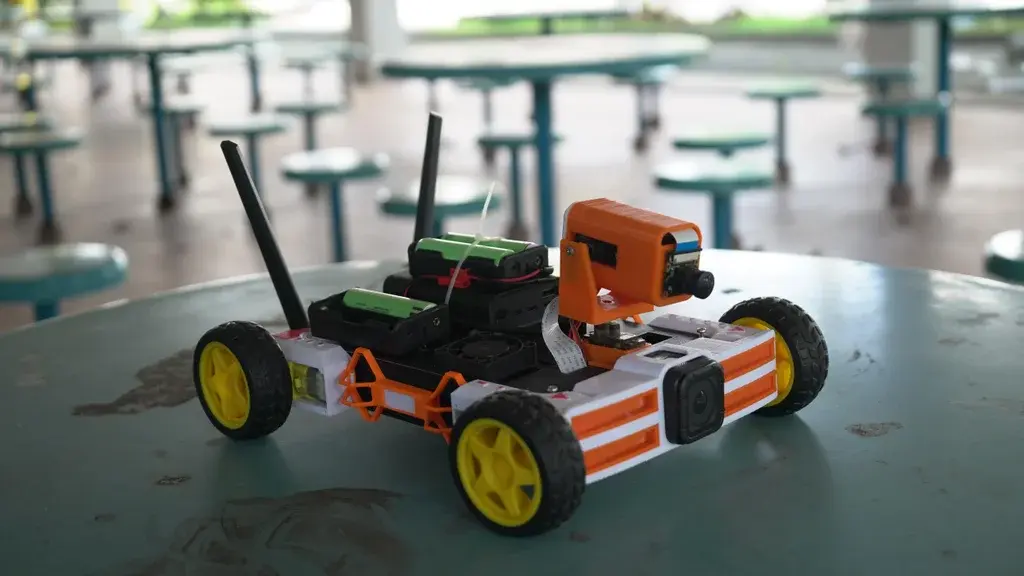
“3D printed robotics development platform” or 3DPRDP a completely 3D printable development platform. Powered by Nvidia Jetson Nano and Arduino Nano board, runs on Ubuntu. AI and machine learning models can be implemented easily on this. I designed this to test out prototypes and new ideas quickly. Instead of starting from scratch for every project, this will help in testing critical stuff early on the project, like code and algorithms. I wanted to design an affordable and accessible system. This is completely 3D printed, no funky assembly or nuts and bolts required.
The main program is written in Python and uses Flask and Socket.io to run a web server on board. You can connect to the interface using the IP address. This project is modular, you don’t need all the components to make it work. I have highlighted the components that can be replaced or their alternatives along with this article…
1. Supplies
- 3D printed parts
- Nvidia Jetson nano
- CSI cam
- Go pro session(optional)
- Arduino nano
- 2 X Motor drivers
- 2 X MG90S servo
- 0.92-inch OLED
- PCA9685 servo driver
- USB cables
- 4 X 16850 Li-on battery
- Power bank for Jetson Nano
2. Relax and hear me out
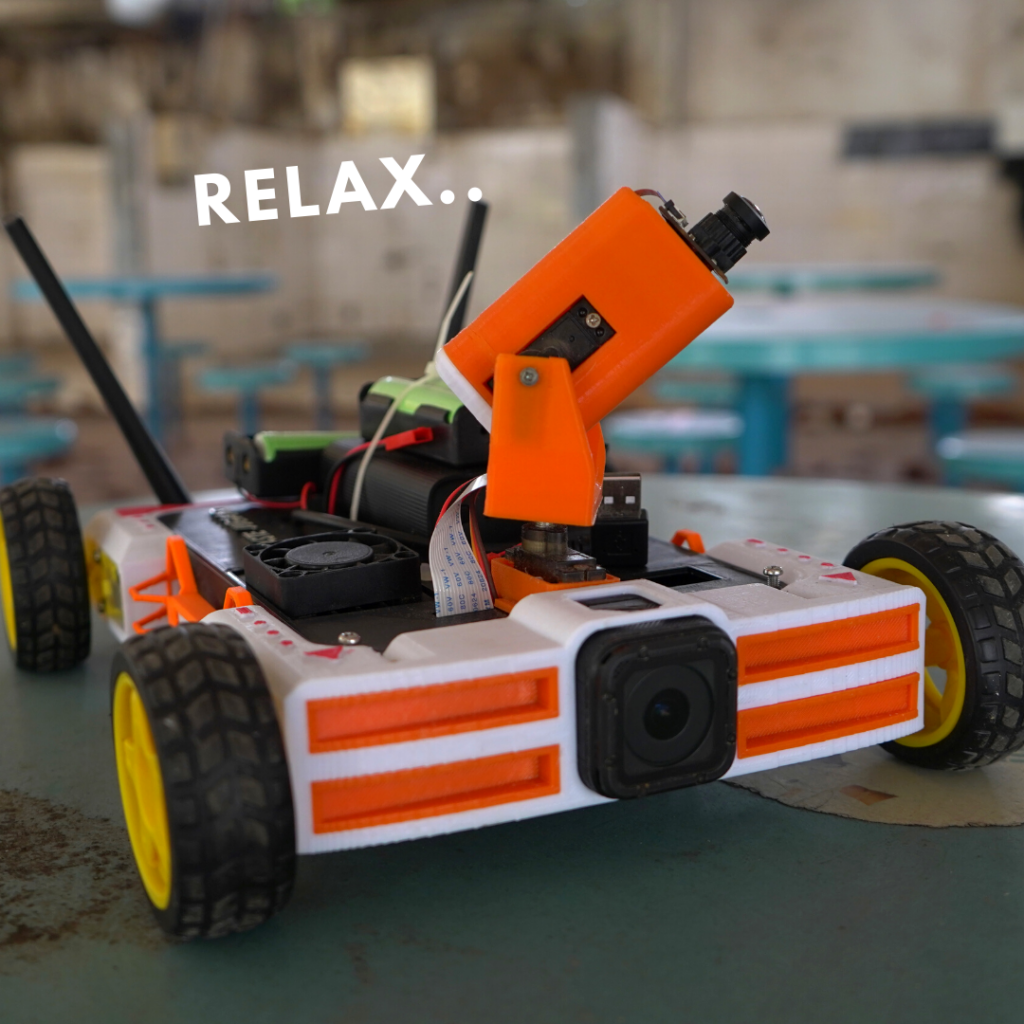
This project might be a little advanced for beginners, but don’t worry if you are ready to put in some effort; it will be fine. The design of this project might look a little intimidating to beginners, but it is not. I am not a professional programmer or expert. I learnt all the code and other stuff while doing this project. So if I can do it so can you. I have also attached all the resources I used to learn.
Also, not every component is necessary to make this project. If you are on a tight budget, you can leave some things out, like a GoPro. Don’t worry, I will explain along the way. I have also adjusted the code in case some components are not available; just comment some lines out, and it should work fine.
I have provided lots of hyperlinks in the project; if you read through them, it will make it easier for you to build this project. They will solve most of your problems.
3. Setting Up Nvidia Jetson Nano
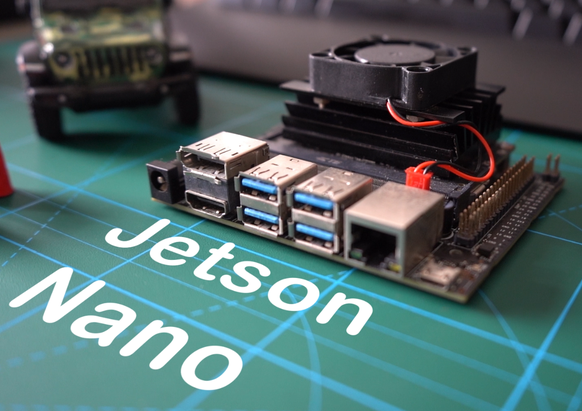
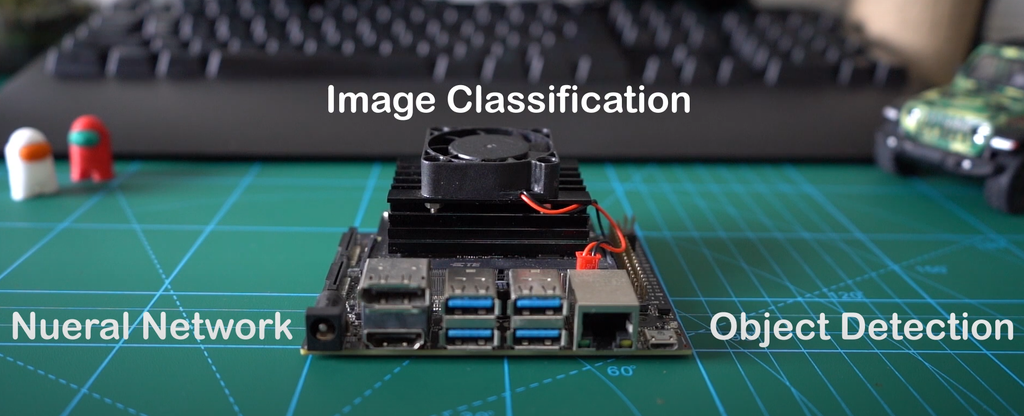
We are going to use the Nvidia Jetson Nano for this project. NVIDIA Jetson Nano Developer Kit is a small, powerful computer that lets you run multiple neural networks in parallel for applications like image classification, object detection, segmentation, and speech processing. All in an easy-to-use platform that runs in as little as 5 watts.
You can use a Raspberry Pi, and the code for this project is not dependent on the hardware used. I chose Nvidia because of the many libraries and examples they provide, which will make it easier to add AI/ML features in the future.
Here is the complete official guide on how to set up Jetson Nano.
https://developer.nvidia.com/embedded/learn/get-started-jetson-nano-devkit
For visual learners
Tip:-
Here are some more learning resources about the Jetson Nano. I used these to set up my Jetson. This is the best dedicated website for Jetson devices.
4. Assembly
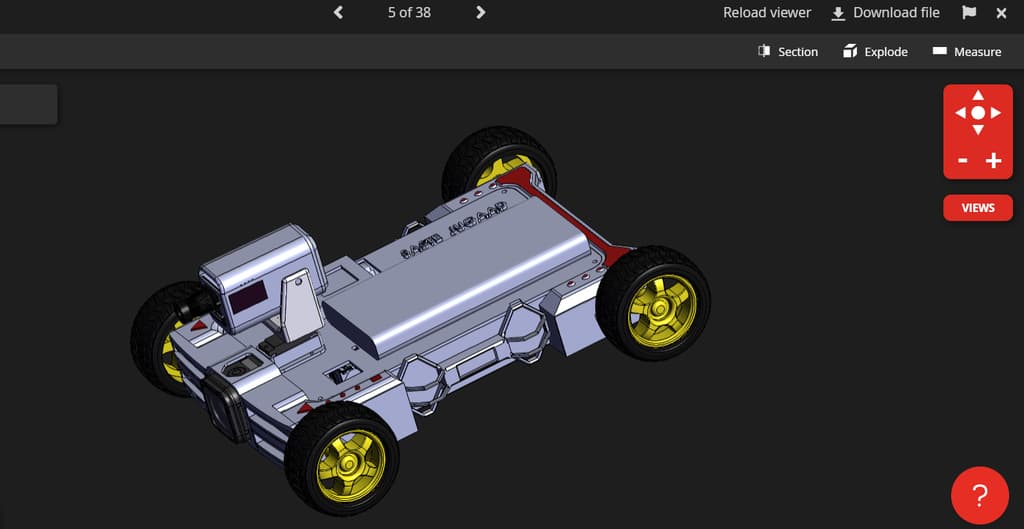
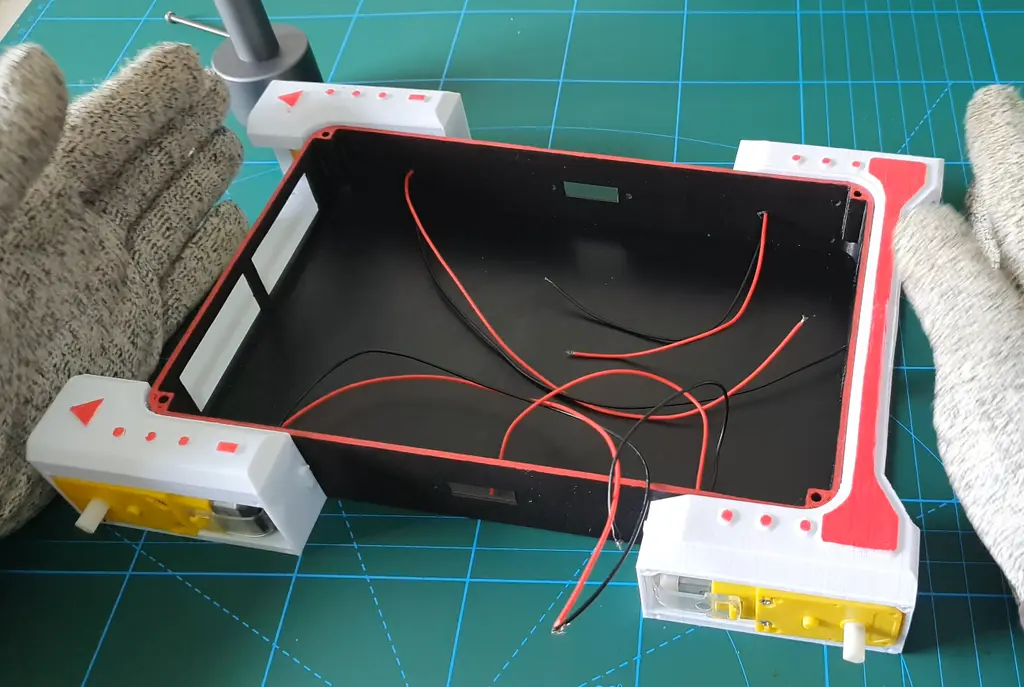
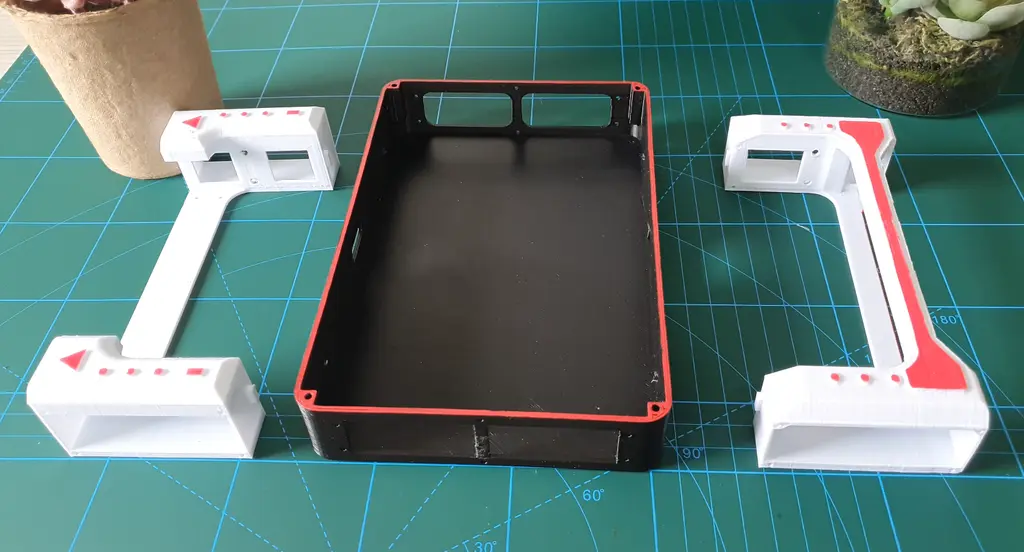
This project is completely 3D printed and does not require any fancy assembly. Printed in PLA with 0.3mm layer height, Ender 3 Pro. Reading the assembly instructions would be very boring, so here is an interactive 3D model of the whole project that runs on your browser. There is a 3D model explode feature on Grab CAD. Please use that you will better understand which part goes where.
STL file for 3D printing
Raw SolidWorks files for the project can also be downloaded from the given link. Since these are original files and are parametric, changing the design will be very easy.
Tip:-
If you don’t have access to a 3D printer, you can use any regular robot chassis or just an old plastic box. I have used many take-out plastic boxes when I started this hobby. Robotics is an expensive hobby, but there are always ways to work around it, like simulation and stuff. ROS is a free platform to experiment and build robots without spending a dollar.
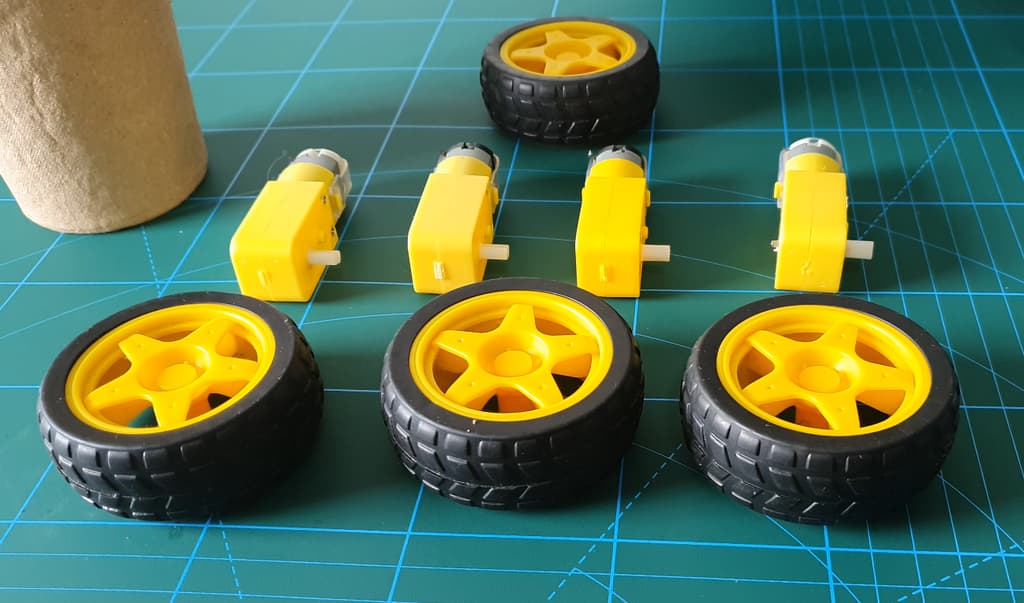
5. Arduino and Motor Setup
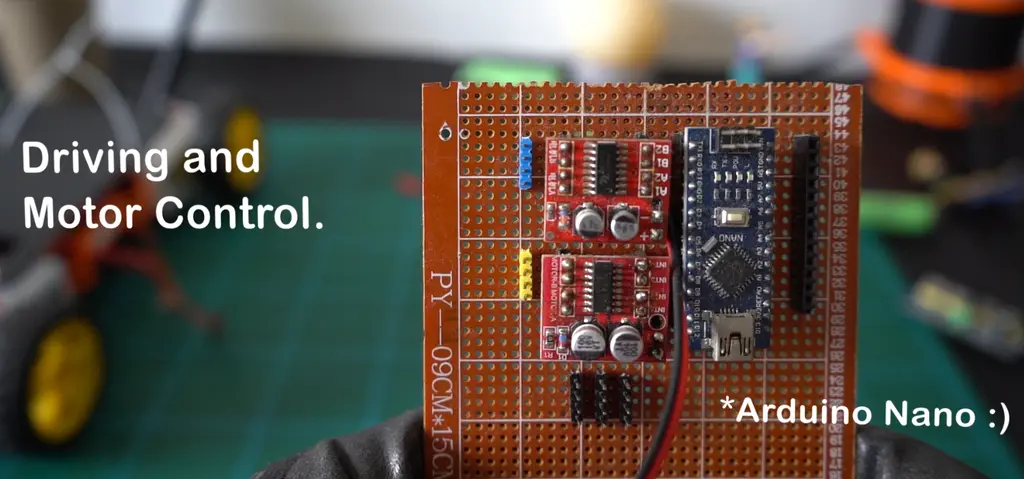
We are using an Arduino Nano and two motor drivers to control each wheel. The setup is simple, like any other Arduino-powered car, nothing special. Arduino will be connected to Jetson via USB.
Powering Arduino and the Motor driver.
Arduino takes its power from Jetson Nano via a USB cable. While the motor driver takes its power from Li-ion batteries. They run on two separate power sources. The motor driver has separate + and – pins for power input. We just need to connect the ground of the Arduino Nano to the ground of the motor driver. Never give power to the Arduino nano with a battery and USB at the same time; you will blow up the board.
DO NOT CONNECT ARDUINO TO BATTERY AND JETSON AT THE SAME TIME. ONLY CONNECT THE GROUND WIRE OF THE BATTERY TO THE GROUND OF THE ARDUINO NANO
Motor Driver
Motor driver has input pins (A1, A2, B1, B2) or (INT1, INT2, INT3, INT4), labelling might be different, but they do the same thing. Take signals from Arduino pins and change the motor direction based on that.
The driver also has 4 output pins, each labeled Motor A and Motor B. You attach your motor wires here. There is no separate power supply for motors. They take their power from the motor driver
Pin used:- 3,6,4,5
Wiring
Driver 1
IN1 = 3; IN2 = 6; IN3 = 4; IN4 = 5;Driver 2
IN5 = 7; IN6 = 8; IN7 = 9; IN8 = 10;Connect the GND of Arduino Nano with the GND( negative) of the motor driver.
Tip:-
You might be uncomfortable with this setup of Arduino, it’s ok. There are alternatives. I used this setup to make my bit look clean. We can also use a regular Arduino UNO with the motor driver shield. This is the reason why I made everything a separate system.
How our current system works.
Arduino Nano gets commands from a Python file via USB.
- f – forward
- b – backward
- l – left
- r – right
- c – stop
Based on these commands, it will run a function.
If received ‘f’ it will run Forward(Speed,0); which will move the bot forward.
We can replace our current setup with Arduino UNO and motor driver shield without changing anything in the Python code. Just make the changes in the Arduino code. You can actually use the same Arduino code and just change the pin declaration at the beginning of the code.
Here is the reference code from one of my previous projects. It runs on Bluetooth. Use this code to learn how to declare the pins.
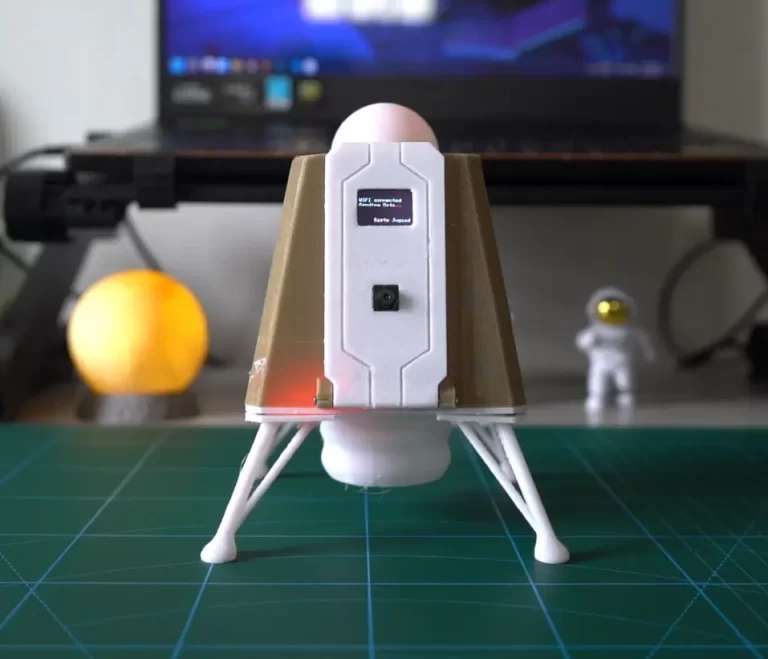
6. Turret System
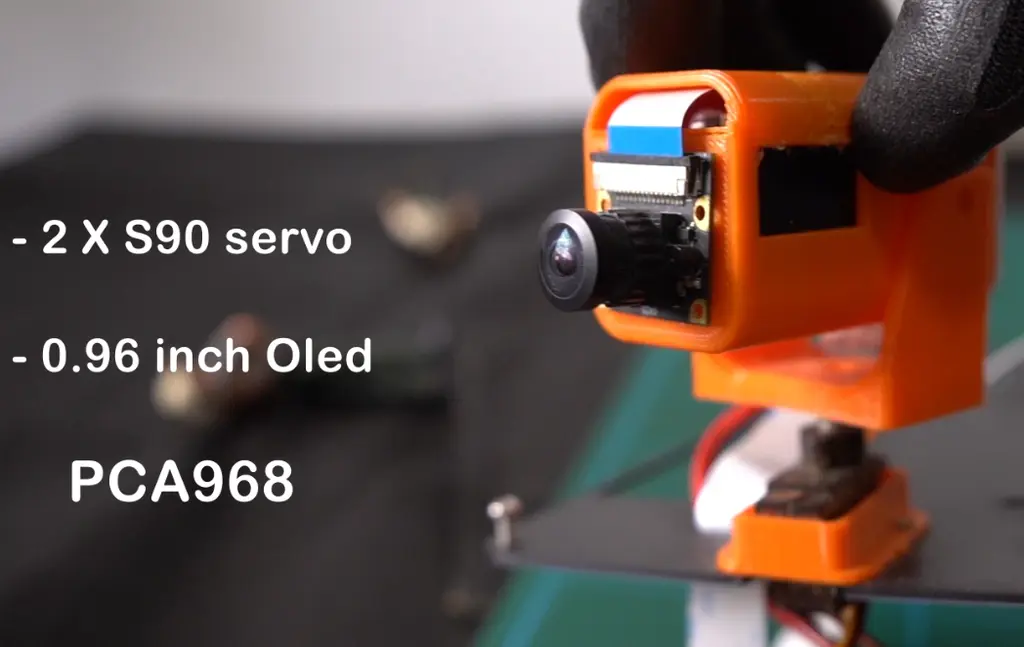
The purpose of the turret is to turn the camera around. It is made up of 2 X Servo motors, OLED, and CSI cameras. The OLED screen just displays stats about Jetson Nano, and it is not required for the bot to run. If you leave it out, everything will still work fine.
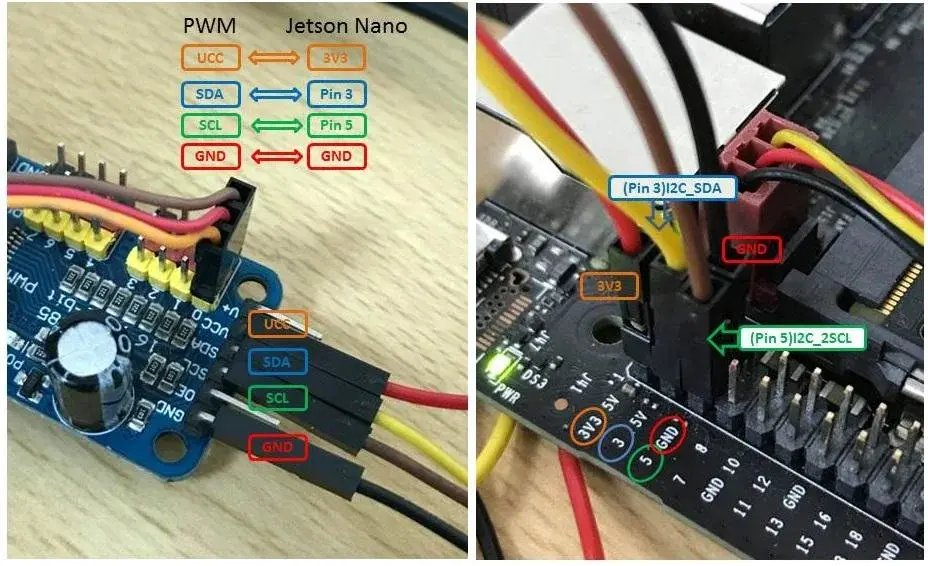
Servos are to be controlled by the PCA9685 servo driver, which will be connected tothe SDA and SLC pins of jetson nano. Same for the OLED screen connect it to SDA and SLC pins on jetson nano. Check images for better understanding.
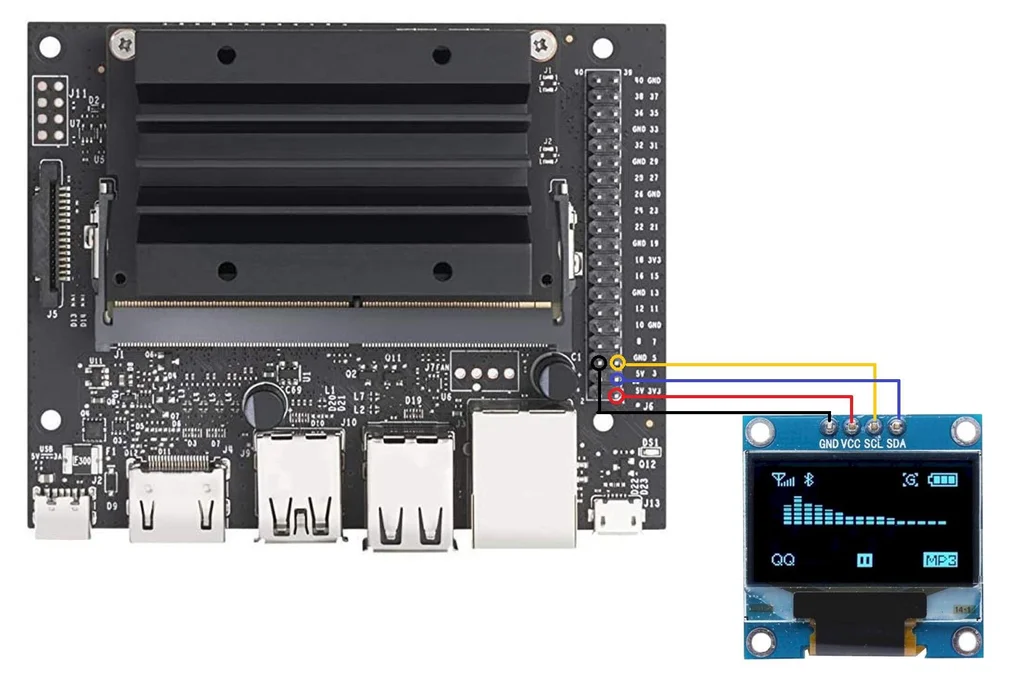
Oled
PCA9685
Tip:-
Both Oled and PCA9685 libraries work on Raspberry Pi, too. So, if you get stuck anywhere, you can also search for a Raspberry Pi tutorial.
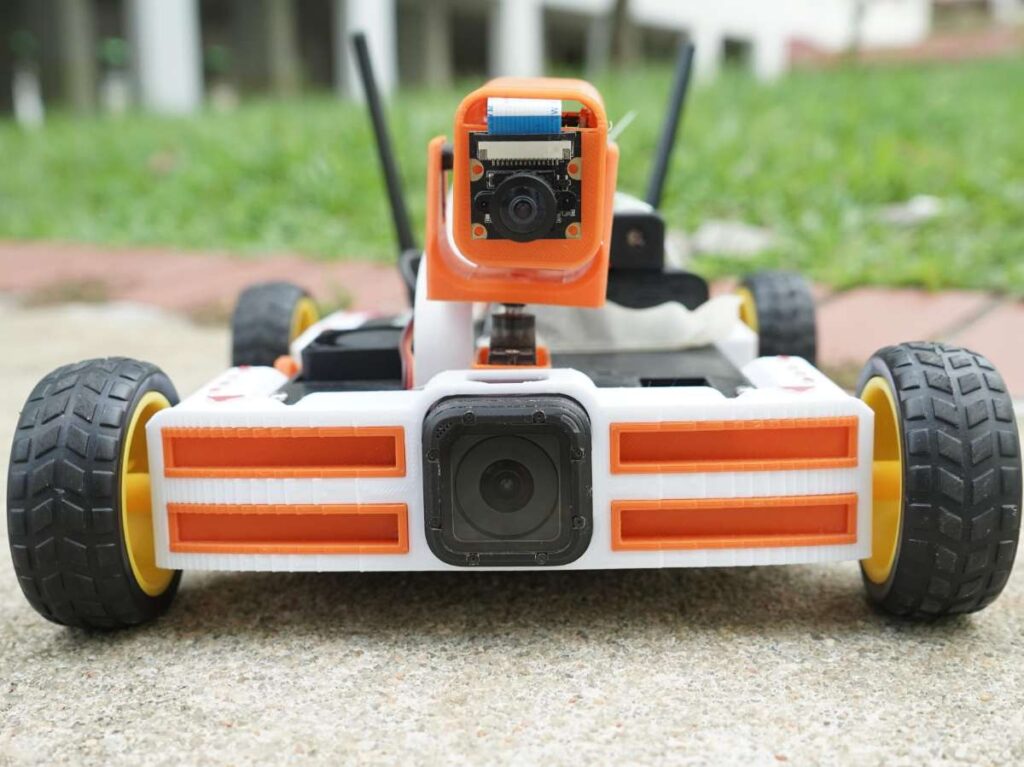
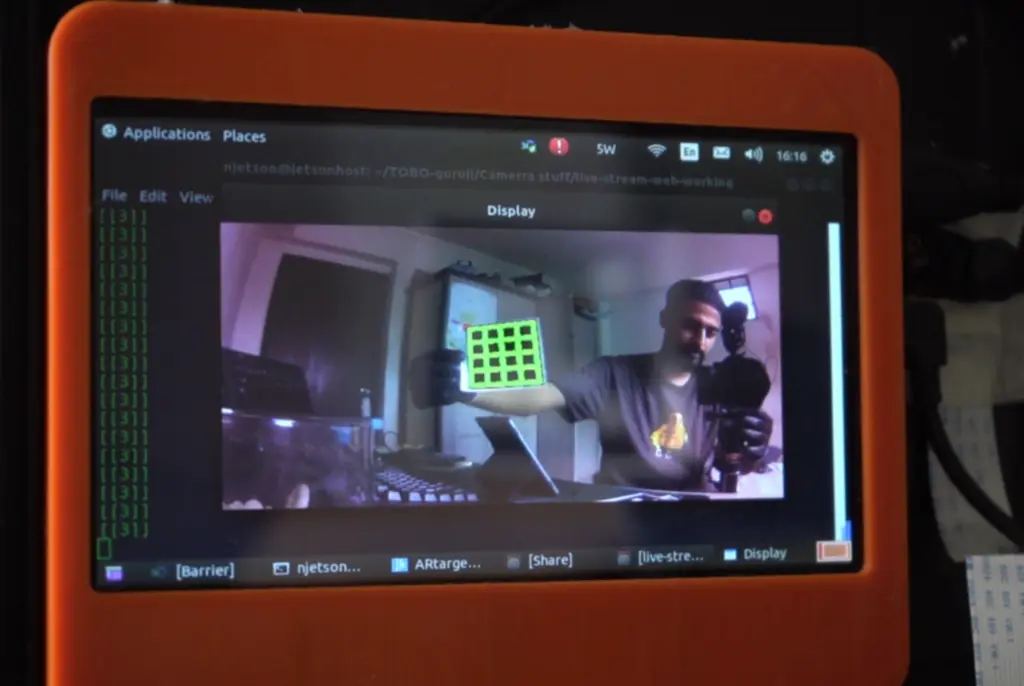
7. Camera System
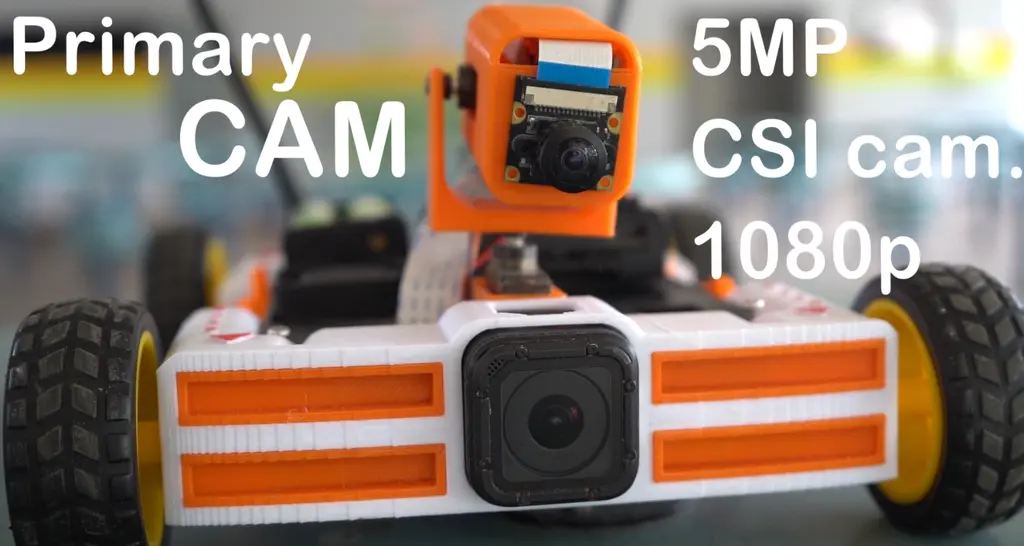
We have a GoPro Hero Session (not needed) and a CSI camera. CSI cam is our primary cam; all computer vision stuff will be done here. Use Raspberry Pi Cam 2; older ones are not supported on the Jetson. It’s going to be tricky to set up the camera the first time. Below is a brief guide. I suggest that after setting up Jetson Nano, please do a simple camera test with the Python file.
Everything you need is given below.
You can use a USB cam, also, support for USB cam is already built into the code, but it is commented out. So, comment on the lines for the CSI cam and uncomment the line for the USB cam; it should be good to go.
#video_capture = cv2.VideoCapture(1)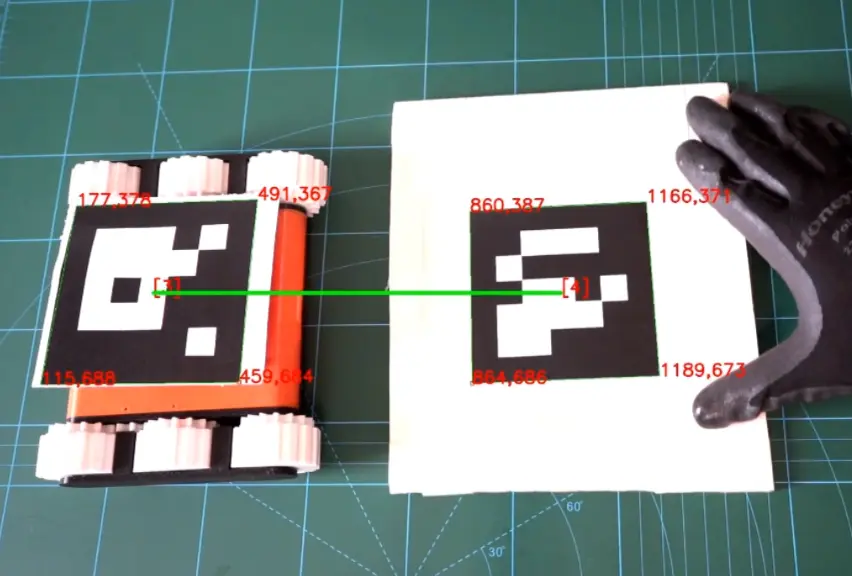
There are two Python files for handling computer vision:n camera.py and ARcamera.py. Both are almost the same, except ARcamera.py has ARuco marker support. You can do cool AR stuff with it. I did not want to make this tutorial complicated, so we will use the camera.py simple one for now.
Here is an example from one of my older projects. Tracking distance between two markers and an augmented reality demo.
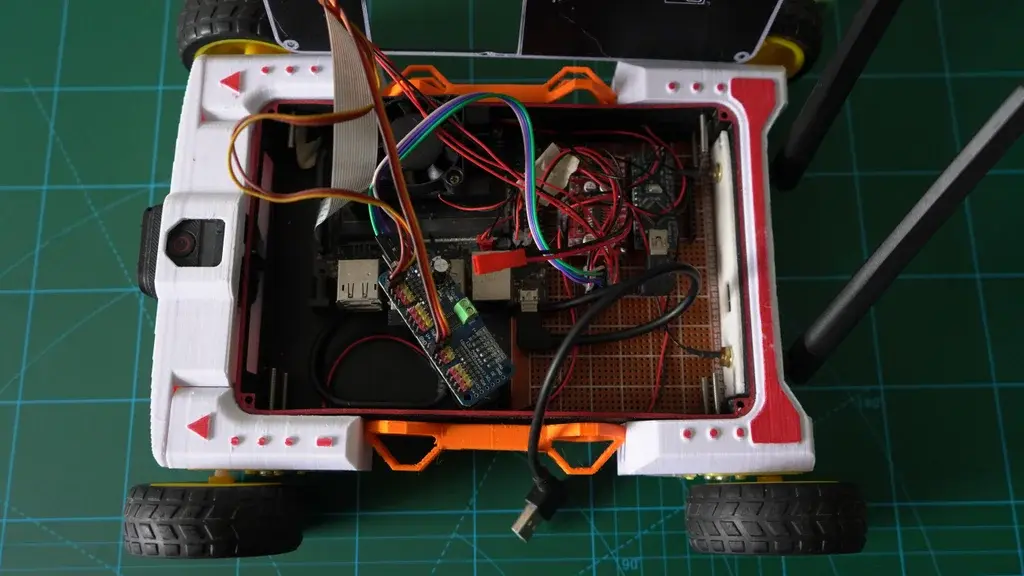
8. Powering Everything
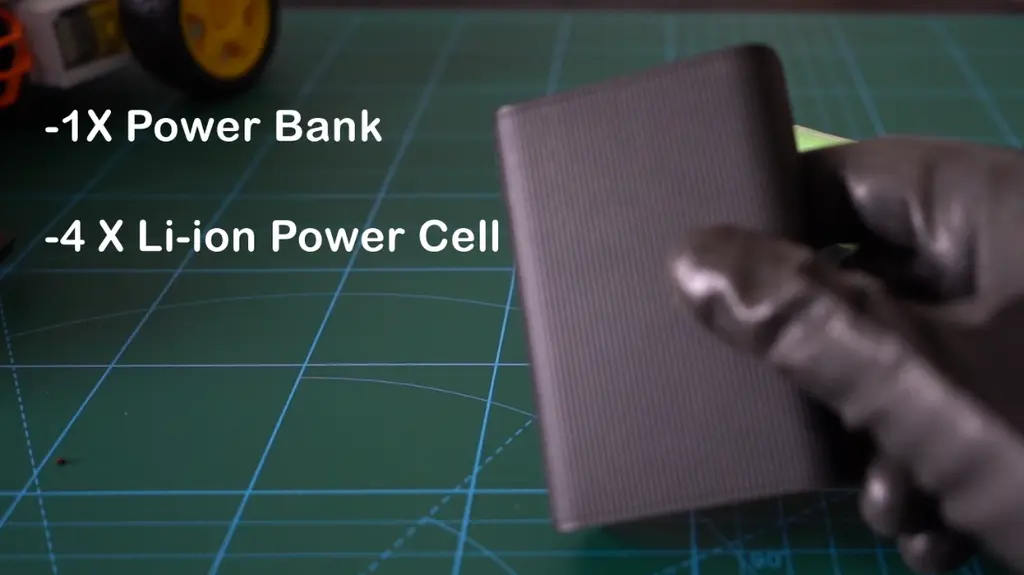
Well, the power system is a mess. Here is how I made it power bank for Jetson Nano and 4 x 16850 batteries for motors and turret system. Two batteries go to Arduino and DC motors, and the other two to servo motors on the turret.
This is unnecessary whole system can be powered by Li-ion and DC converters only, but I wanted to be safe, so I decided to split the power supplies.
Xiaomi power bank 3 ultra compact
A normal 9V battery can also be used in place of 16850, but won’t last long, probably 8-10 min. Any power bank will work. I just went for the smallest one. There is a better way to design the power system, also if you want to try it. I will implement this in the next version.
9. Code Setup
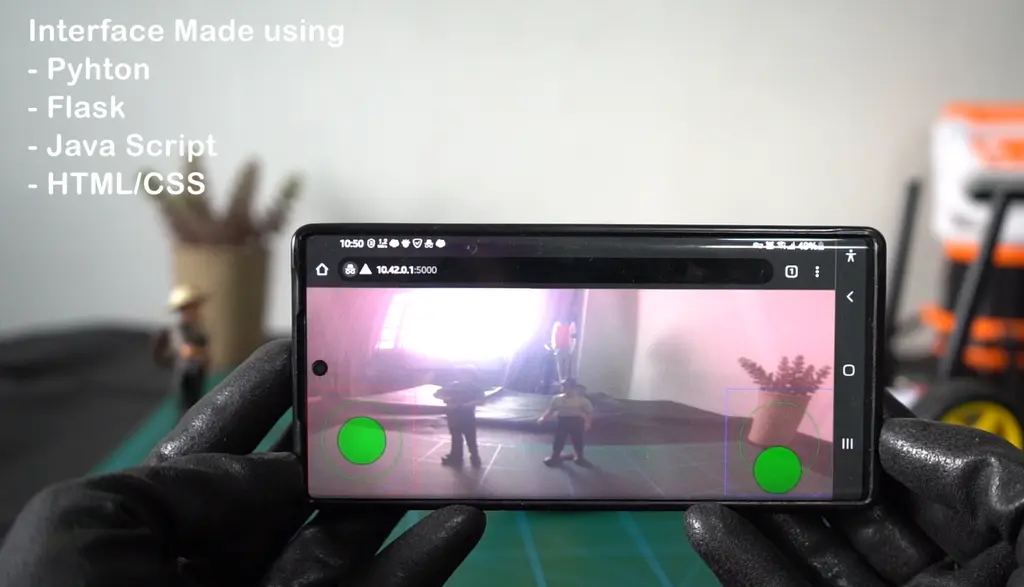
It’s all written in Python 3. We will use HTML, CSS, and JavaScript to handle the web UI. But don’t worry, you won’t have to deal with it unless you want to change something in the UI. There is a separate guide to deal with UI on the GitHub page
File hierarchy
main.py – Main file controls all other systems. Run this file to use the robot
turret.py – Controls the turret
camera.py – Opens camera and sends back frames to main.py, which are displayed as a video feed on the web browser
ARcamera2.py– Same as camera.py, but with aruco marker
Oled_disp.py– Shows stats about the Jetson Nano system.
Simplecameratest.py – to check camera is installed properly or not.
arduino_control.py – Communicated with Arduino. Receives commands from main.py and sends them to Arduino through a USB connection
Arduino_program.ino – Upload this to Arduino. Controls motors.
How the code works
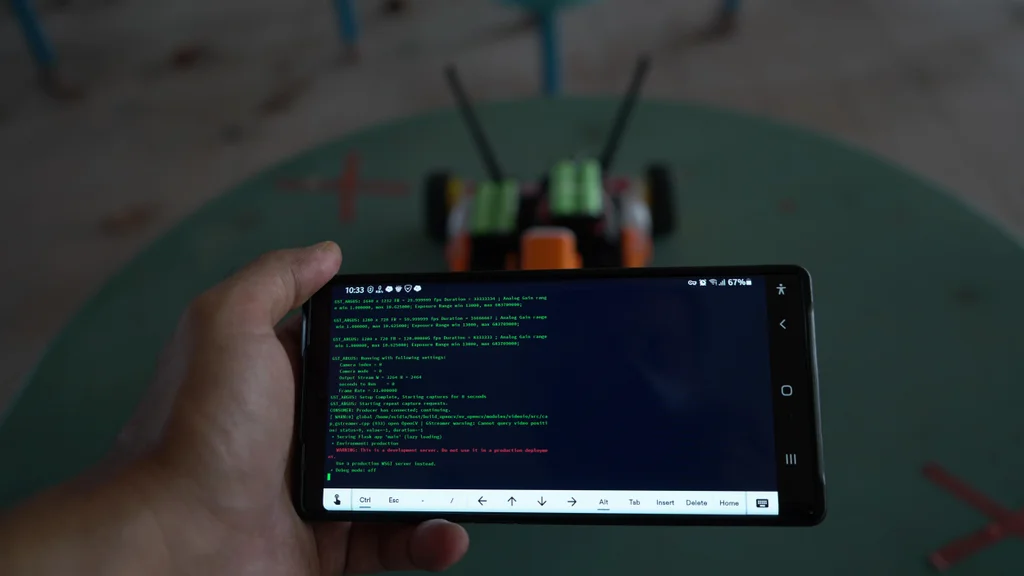
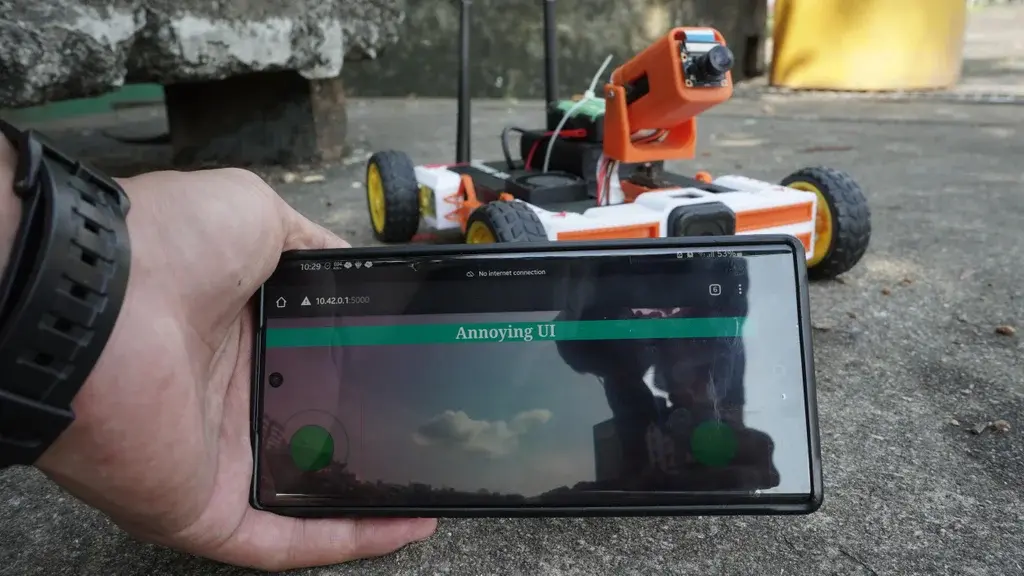
Run main.py this will start all the other functions like the camera and the web server. We are using Flask and the socket.io library to communicate with our robot using a web browser. Mobile devices and our robot should be connected to the same network. Then go to your web browser and type <ipdressofjetsonnnao>:5000 You should get the interface.
The code is heavily commented line by line, so you know which parts do what. I have also explained the code in more detail on GitHub because it’s much easier there.
Download from here:
Please don’t rename or move around the files unless you change the reference in the code also, otherwise, you will get an error.
10. How to run
- Install Python 3 and all the required libraries
- Connect the bot and your mobile device to the same wifi network.
- Get the IP address of the bot or Jetson Nano.
- Run the main.py (use – sudo python3 main.py)
- Open your web browser on your mobile and go to
<ipadressofjetsonnano>:5000 - You should get the live feed.
- The right stick controls the turret left stick controls the bot movement
Tip:-
You can see the UI in your PC web browser also although you will not be able to control it. This is because it only works on touch devices. Make the joystick bigger using the CSS file for better control. Everything about the joystick, CSS, and HTML is covered in a separate guide present on GitHub.
While experimenting with CSS and HTML, clear your browser cache or use it in incognito mode, and restart the browser after every time you make changes to your code. Browsers save some of the data to reload quickly, although you might make changes to your code when you reload it you will not see the changes. I learned this the hard way.
11. Annoying problems

Below is a list of few commands that will make your life easier. This will save you hours of research time. These are general commands and are not specific to this project.
Restart the camera daemon
This is important because sometimes you might restart the main program and get an error, camera not working, or there is no live video feed. Run this command to fix it.
sudo service nvargus-daemon restart
Check CSI camera is working or not
gst-launch-1.0 nvarguscamerasrc ! 'video/x-raw(memory:NVMM),width=3820, height=2464, framerate=21/1, format=NV12' ! nvvidconv flip-method=0 ! 'video/x-raw,width=960, height=616' ! nvvidconv ! nvegltransform ! nveglglessink -eCreate a hotspot on Jetson Nano
# Create a connection
sudo nmcli connection add type wifi ifname '*' con-name my-hotspot autoconnect yes ssid my-local-hotspot

# Put it in Access Point
sudo nmcli connection modify my-hotspot 802-11-wireless.mode ap 802-11-wireless.band bg ipv4.method shared

# Set a WPA password (you should change it)
sudo nmcli connection modify my-hotspot 802-11-wireless-security.key-mgmt wpa-psk 802-11-wireless-security.psk 12345678

# Enable it (run this command each time you want to enable the access point)
sudo nmcli connection up my-hotspot
Check the I2C connection (OLED and Servo driver)
sudo i2cdetect -y 1
or
sudo i2cdetect -r -y 1
List video devices
ls /dev/video0List supported video formats by the CSI camera
v4l2-ctl -d /dev/video0 --list-formatsUse sudo
12. Conclusion
This project is still evolving. I am still trying to improve the code for this project, which is the reason why I decided to explain the code on the GitHub page, because making and tracking changes in the code is easier.
I have already linked most of the resources I have used to make this project, but please don’t hesitate to ask questions. This is not the end of this project, I want to make it more robust. All your questions and queries will help me reach my goal.